Russia, Moscow region, Moscow+79041000555

 It takes ~ 3 minutes to read
Very often, any housewife has a question: "How beautiful and original to serve bread on the table?" Today I propose to make a bread bin from shreds and twine. It can also be used as a candy bowl, vase or for storing all sorts of little things. 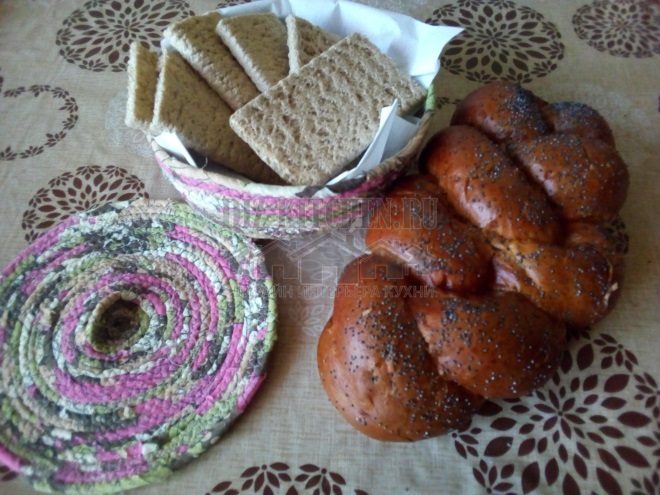
You will need:
- The fabric is thin
- Scissors
- Twine or rope
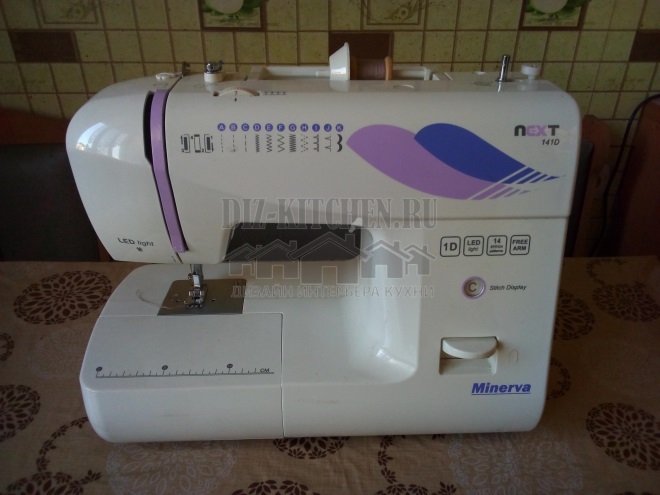
- Sewing machine
- Decor elements
- The first thing we need is shreds (if you have them) or a piece of any fabric that you don't mind cutting. If you want the bread bin to be of the same color, use the fabric of the same color accordingly. For my craft I use motley fabric, which I have already cut into long shreds. The width of each is about 2 cm.
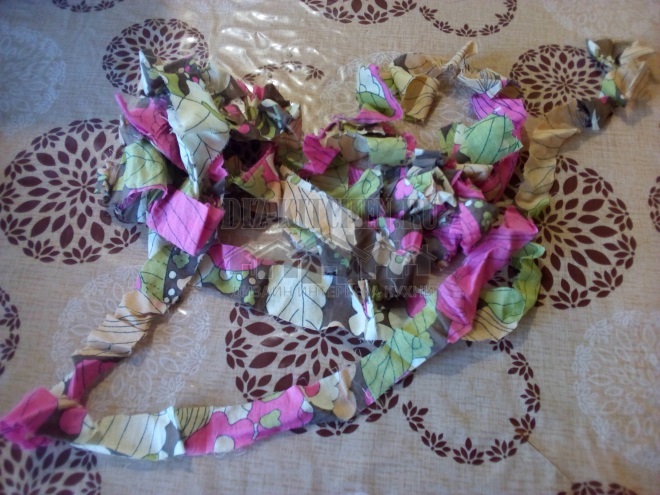
- I also need a rope or twine for the craft. It comes in different colors, I chose white. If somewhere my shred doesn’t grasp the twine tightly enough, it will not be noticeable.

- And, of course, a sewing machine, because it will be very difficult for you to sew such a breadbox by hand.
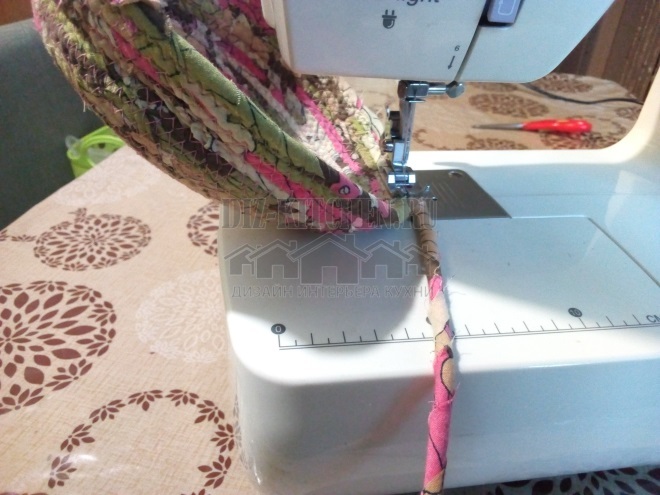
- We take the twine, wrap it in a piece and start stitching in a circle.
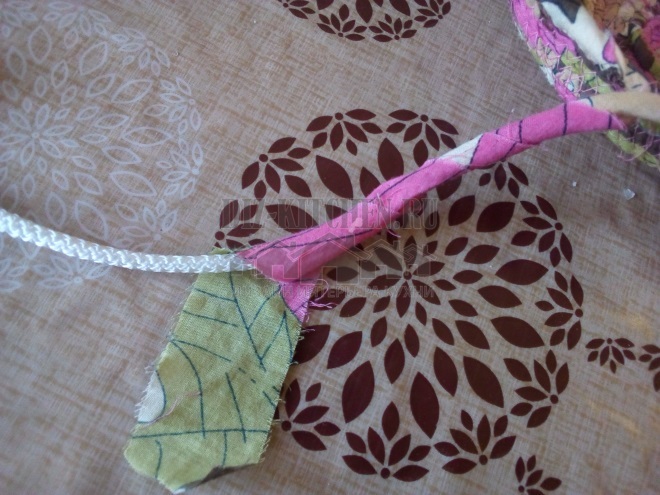
- The hardest part is the beginning. After all, you need to push our workpiece under the sewing foot. Therefore, if you find it difficult to do it right away on a sewing machine, you can first baste by hand.
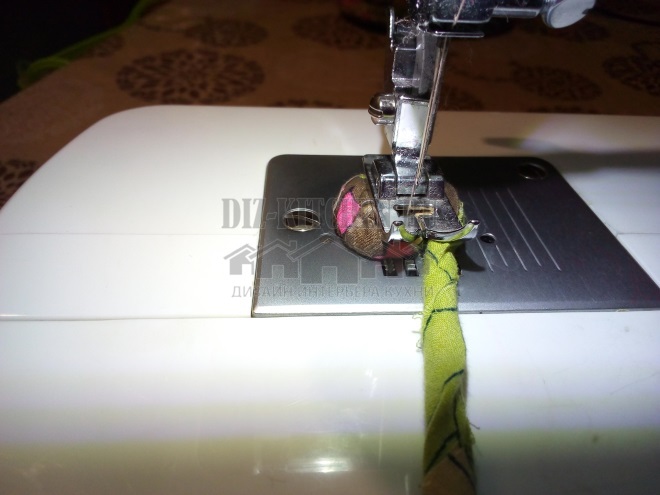
- So, we start to sew in a circle. One prerequisite is that you need to sew in a zigzag so that the thread holds our product together to the maximum.
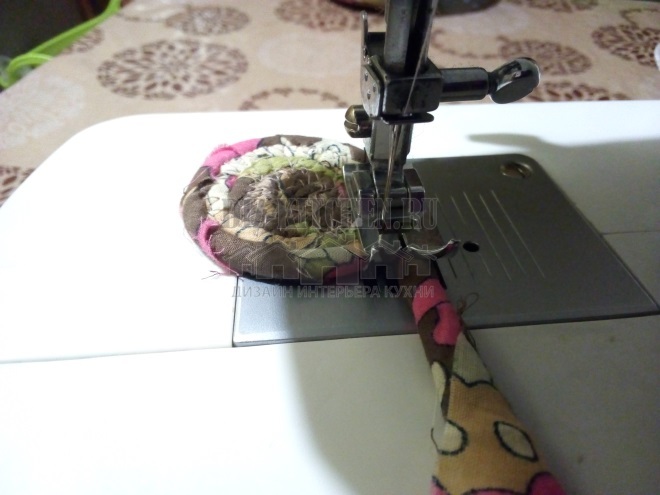
- When the shred ends, we take a new one, wrap the twine again, and so on in a circle.
- Determine how wide you want the bread bin to be. I made a small bread bin, so the diameter of the bottom is about 15 cm. When the bottom is ready, you need to start pulling the twine harder: this way you will start to get bumpers. We pull the twine a little harder, the sides are formed very easily.
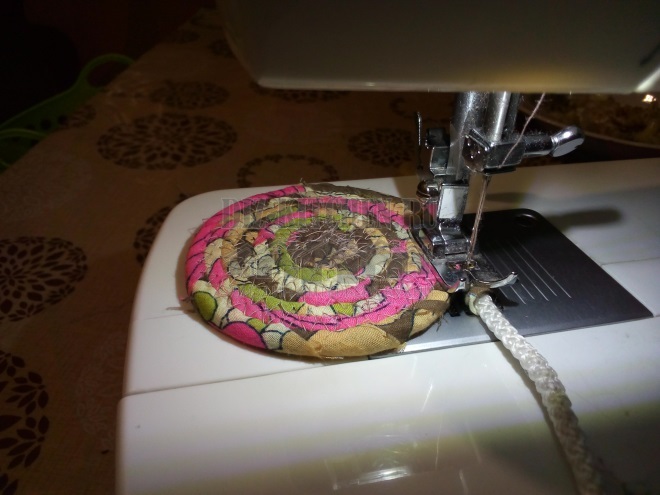
- And then you scribble until the height of your breadbox suits you.
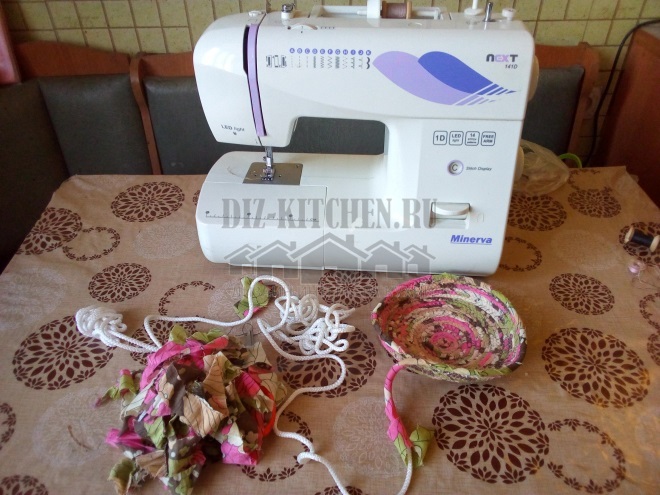
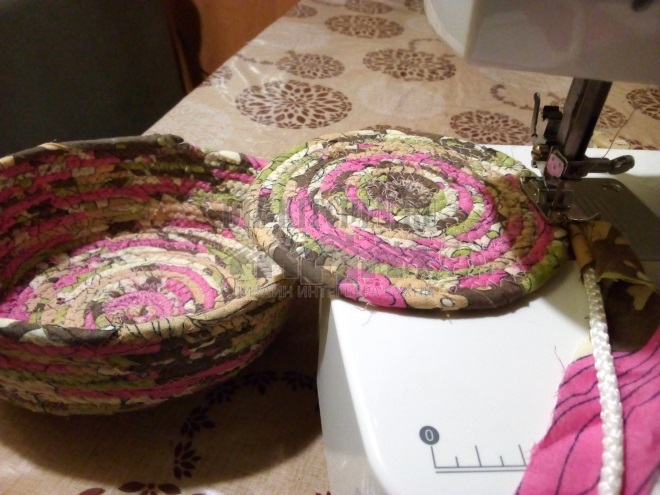
- We make a lid according to the same principle. The bread box is ready!
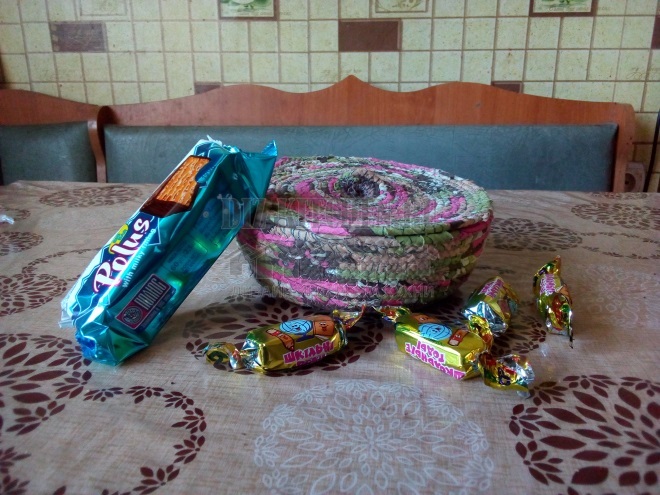
In such a convenient basket, you can serve bread, rolls, cookies, sweets on the table, after laying a napkin. Since our bread bin turned out to be fabric, it can be washed by hand or in a washing machine. Then simply spread and dry correctly so that it does not lose its shape.
Attention! Earned on our website kitchen designer. You can familiarize yourself with it and design your dream kitchen for free! May also come in handy wardrobes designer.
You can also use such a box for other purposes: storing some sewing accessories. In addition, the cover can be used as a needle bar. If you make your basket a monochromatic bread basket, you can decorate it with beads, lace, beautiful braid.
The ideal format for gatherings in my kitchen is ...
Dumplings party
34.33%
Sitting over a cup of tea
41.79%
Youtube party
11.94%
Cocktail buffet
11.94%
Voted: 67
In order not to lose, tell your friends
Follow us on social networks


Dear visitor!
With great interest I always read your comments to my articles. If you have any questions, do not hesitate to ask them, leave, please, Your feedback in the form below. Your opinion is very important to me. Thanks to your criticism and thanks, I can make this blog more useful and interesting.
I would be very grateful if you rate this post and share it with your friends. It's easy to do by clicking on the social media buttons above. Do not forget the article you like Add to bookmarks and subscribe to new blog posts on social networks. 
Anna, editor of diz-kitchen.ru
© 2015 - 2022 | All rights reserved. At a reprint of materials the active link to the source is required. | User agreement and privacy policy
All characters and stories are fictional, and any coincidence with real or living people is accidental.


