A semi-dry screed is called, in which a minimum of water is added. Compared to wet, this is not a solution, but an elastic mixture that hardens in a matter of hours. Therefore, installation work is easier to carry out, and the surface is quite even. The pros and cons of a semi-dry screed, the technology for its implementation and differences from other finishing methods are described in detail in this article.
The content of the article
- Composition and properties of semi-dry screed
- Advantages and disadvantages
- Step by step installation instructions
Composition and properties of semi-dry screed
Semi-dry screed outdoors and indoors is a mixture of cement and sand with additives that improve its properties and increase its service life. The mixture must be prepared with water, this is the similarity of a semi-dry screed with a wet one.
However, unlike the latter, the semi-dry method involves the use of liquid in very small quantities. That is, it is taken in such a volume that the mass is plastic, but no more. As a result, the composition does not flow, but simply rolls into lumps that hold their shape well.
A semi-dry screed is used for underfloor heating, in the house and on the street. If you compare all types of technology, you can find several differences.
| Type of screed | Dry | Semi-dry | Wet |
| Compound | Cement, sand | Cement, sand, water | |
| Amount of water | No | Minimum | big |
| Drying | Not required | 4 days | Up to 4 weeks |
| Consistency | Loose | Plastic | Liquid |
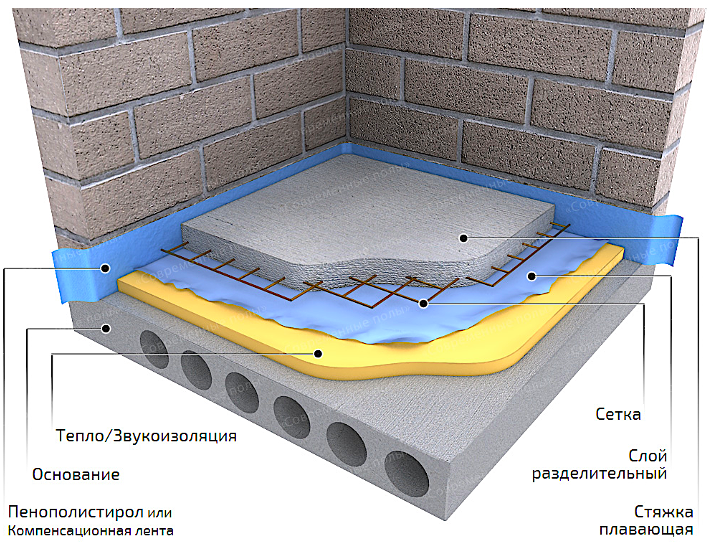
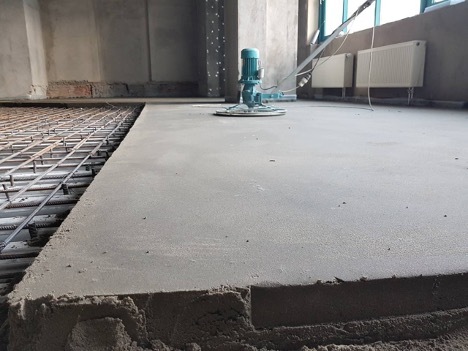
The floor device made using this technology looks like this.
Advantages and disadvantages
If we consider the advantages of the semi-dry method, several points can be distinguished:
- Perfectly flat surface, on which there are no drops and even small cracks. The high strength of the semi-dry screed is ensured by the minimum amount of water required when preparing the mixture. This technology compares favorably with the wet method.
- High laying speed due to the use of special equipment, with which the solution can be applied even at high heights (up to 100 m). However, this also has disadvantages of a semi-dry screed - it is not easy to cope with the work on your own, without professional installations.
- The composition dries very quickly, because a minimum of water is used for kneading - it is only enough to obtain a plastic consistency. A semi-dry floor screed, the photo of which is shown below, is completely ready after 4 days, unlike a wet one, which dries up to 3-4 weeks. You also need to keep in mind that walking on a semi-dry floor is allowed after 12 hours.
- There are no leaks because the water is completely absorbed into the cement. This is the advantage of a semi-dry floor screed and the disadvantages of the wet method, when there is a risk of leakage. However, in both cases, a layer of heat or sound insulation is provided.
- The difference between a dry and semi-dry floor screed is obvious - in the first case, water is not required at all, and in the second it is needed, but in small quantities. And despite the presence of liquid, the composition dries very quickly. Therefore, you can continuously engage in the installation of coatings of different heights in the same apartment. Thus, if necessary, you can create a multi-level floor and use a variety of types of topcoat.
- Finally, an important factor is the low price. For example, in the case of the dry method, the cost may be 2 times higher than the semi-dry technology. And the classic wet method costs a little more. But if, for example, a semi-dry screed is made on a warm water floor, this increases the cost of technology, as in other cases.
To make the coating even and durable, reinforcement of a semi-dry floor screed is carried out. This also increases the overall cost, but also increases the service life. However, despite the obvious advantages, this technology has its drawbacks:
- For installation, certain conditions are required. It is necessary that there is a positive temperature outside or indoors without the risk of frost (even small ones up to -2 degrees). Otherwise, the sand freezes, and a semi-dry screed under a warm water floor will not work: it will be impossible to both supply the solution through the pipe and work with it.
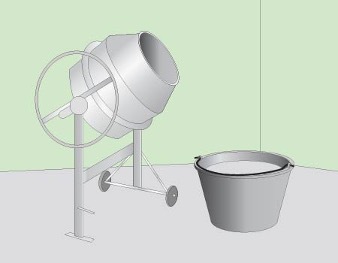
- It is not difficult to carry out the work, but special equipment is required, for example, a construction mixer. If you plan to lay the floor on the street or on low floors, the mixture can be transported independently. But if the volumes are large, it is easier to feed vertically through the pipe, which again requires professional tools.
Both problems are completely solvable, especially when it comes to a small room, for example, an apartment. First of all, it is important to choose the right composition - the strength grade of the semi-dry screed, its composition and the brand of the manufacturer matter.
Work is best scheduled during the warm season. But even if this is not possible, it is possible to organize a special heating of the composition, insulate the hoses and introduce an antifreeze additive into the batch. As for the problems with the delivery and the process of preparing the mixture, they are relevant only in cases where it is planned to work on large areas.
Step by step installation instructions
Floating semi-dry screed is laid using conventional tools:
- shovel;
- rule;
- Master OK;
- grater;
- building level;
- rammer or vibrating plate.
In this case, from the materials you will need:
- sand;
- cement (grade for semi-dry screed at least M400);
- reinforcing fiber;
- additives (plasticizers);
- damper tape;
- profiles that are used as beacons.
The step by step installation instructions are as follows:
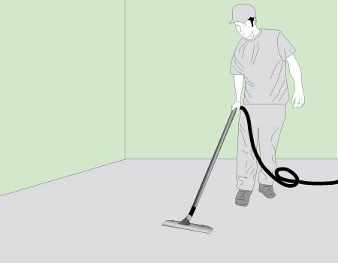
- First, the old base is prepared, the old coating is removed and the cracks are sealed. It will also be necessary to level the protrusions, level them and completely clean them of dust.
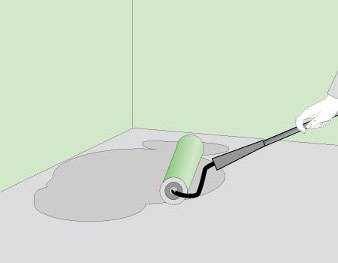
- The technology of a semi-dry screed for a warm floor involves the preparation of a cement mortar and its application along the floor and wall joints. After that, the composition is distributed over the rest of the surface. When the primer dries, the floor is covered with a dense film, overlapping the fragments by at least 10 cm and gluing them with adhesive tape. The edges of the walls (along the connection with the floor) are pasted over with a damper tape.
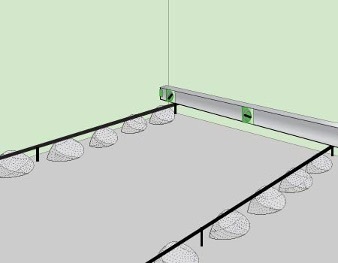
- At the next stage, the installation of a semi-dry screed is reduced to the installation of beacons from the profile to determine the surface level. Mount them using a laser level. Self-tapping screws are fixed at the base and reinforced with a solution of the mixture that will be used for laying the screed (it is prepared in the next step).
- Now you need to mix the mixture in a manual or electric concrete mixer. Water is added in small portions to make a dense, elastic mixture, from which it is easy to form a lump. Moreover, when compressed, it should not crumble and, moreover, release water. When the composition is ready, reinforcing fiber is added strictly according to the instructions.
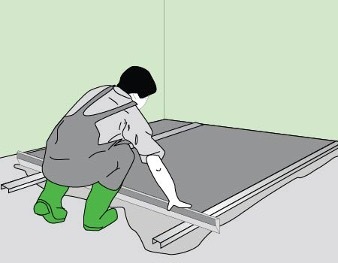
- As you know, floor screed has pros and cons. For everything to go right, it is important to lay out the bottom layer and then compact it with a rammer. Only after that the top layer is applied and leveled using the rule. The work is carried out quickly enough, since the solution hardens in just an hour.
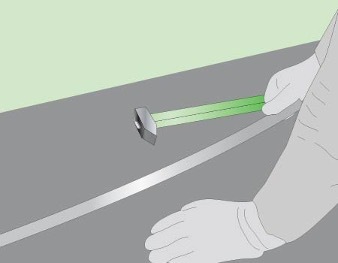
- When the surface dries, you can remove the beacons and wipe the resulting cavities with the remnants of the mixture. If a semi-dry floor screed is performed in winter, this should be done as soon as possible. Another point - if the area of the room exceeds 15 m2, 3 mm seams must be cut in the surface of the screed with a spatula. They will provide strength in case of contraction and expansion of the web due to exposure to low and high temperatures, respectively.
Semi-dry screed is a more advanced technology compared to wet and even dry. In fact, this is a kind of "middle" option that combines the advantages of the other two technologies. If you process a small area, the use of special equipment (with the exception of a concrete mixer) is not necessary.