royalzoo.com.ua
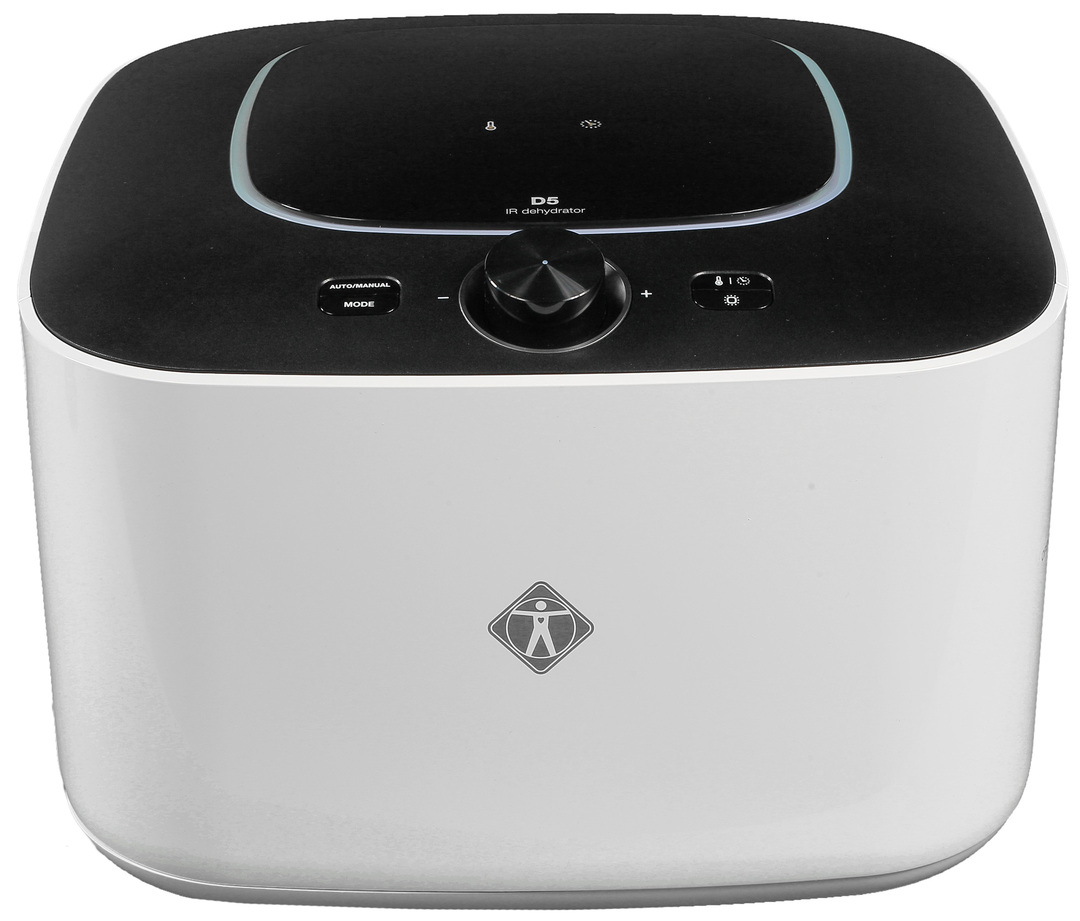
If your artificial reservoir is clogged, green, filled with algae and bacteria, then you need a water sterilizer. Among them there are several types, but ultraviolet models are in the greatest demand - they are easy to replace, they are effective, cheap and do not affect the environment of the reservoir in a negative way.
Don't want to buy them? Decided to do it cheaper and better with your own hands? Then read on - how to make a UV sterilizer for an aquarium with your own hands.
Required items and preparation. To make a homemade UV water sterilizer, you will need:
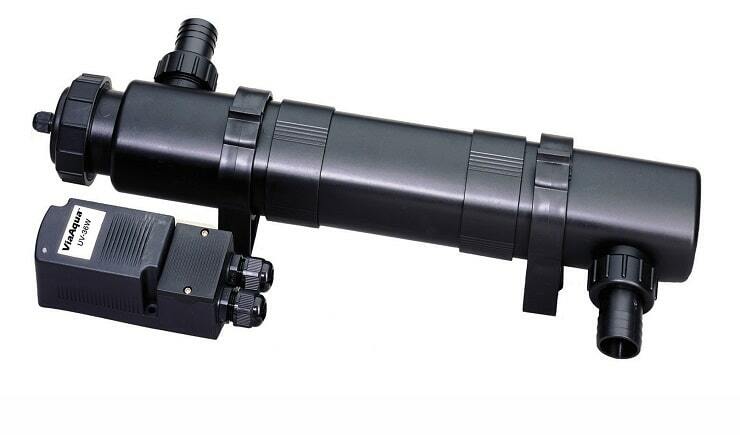
- UV lamp (15 watts, T8 base)
- Sewer pipe (50 cm, diameter 40 mm)
- Plugs for the sewer pipe (2 pcs, according to the diameter of the pipe)
- Sewer pipe connector (1 pc, according to the pipe diameter)
- Fittings for drip irrigation
- Electronic ballast (electronic ballast) or ballast (ballast), the power must be greater than the lamp
You will also need an outbuilding, a pencil, a ruler, silicone, hot melt adhesive, a drill / soldering iron. Prepare the components of the future sterilizer and prepare the work surface, heat up the glue gun. Making a DIY aquarium UV sterilizer will take 20 minutes or less. The cost of such a lamp, without electronic ballast, will be 600-700 rubles. But you can do it cheaper.
Manufacturing process of ultraviolet sterilizer for water. To begin, place a UV lamp on the sewer pipe, measure the length of the lamp, and make marks 3-5 centimeters shorter on each end. This is necessary so that the socles of the UV lamp are not washed by water, but stick out.
Melt / drill holes: one in the pipe, the second in the sewer pipe connector, according to the diameter of the fittings. Step back 2-3 centimeters from the "skirts" of the pipe and connector, drill / melt blind holes in them with a drill / soldering iron. Next, you need to make holes in the plugs. These holes should be larger in diameter - they should pass the socles of the ultraviolet lamp.
You can make a little mistake with the dimensions of the hole for the plinths, but with holes of a smaller diameter (for fittings) you need to be extremely careful - the fittings should not fall out of them. It is better to make them smaller, and if necessary, increase during assembly. If you screwed up with the dimensions of the hole for the fittings, then in extreme cases you can tighten them - there is a thread under the fitting nut. But such a connection will be less tight.
Check the accuracy of the work. Thread the UV lamp through the pipe, insert it into the holes of the plugs, pull the plugs to the pipe. Next, insert the fittings into the small holes. Trim the fittings or enlarge the bore if necessary.
If all sizes fit, everything sits, does not hang out, then you can start sealing. Lubricate the plinths with silicone sealant. This is necessary so that water does not get on the lamp contacts, because if it hits, a short circuit will occur. If you wish, you can install a small motor that will drive water faster.
Next, you will need an electronic ballast or ballast. It is recommended to use electronic ballasts because of its compactness, reliability, lack of additional elements, and low-noise electronic ballasts. Connect the wires of your device to the lamp. To connect, make loops from the copper ends of the wires and drape them over the antennae of the UV lamp. Then crimp them with heat shrink and additionally seal them with super or hot glue so that the wires do not break out. This operation must be performed four times (to each antennae of the lamp). If you want to fork out, you can buy a cartridge and do without heat shrink with glue.
royalzoo.com.ua
Electronic ballasts also need to be sealed, and with high quality. The device will be in the water along with the main part of the sterilizer, so if even the slightest amount of moisture gets in, what will happen? That's right, a short circuit.
Additionally, you can install a filter on one of the fittings. In this case, the water in the aquarium will be crystal clear. Check the quality of sealing and test your device.
Working principle of UV sterilizer. Water is driven through the fitting of the device and enters a separate section. The included ultraviolet lamp sterilizes the water - eliminates most bacteria, algae spores, microbes, viruses - and releases a portion of water through the second fitting. Water circulates through the aquarium, a new portion is launched, and the cycle repeats.
If you additionally installed a filter, then before exiting the second fitting, the liquid passes through it and is additionally cleaned.
By installing a motor, you can speed up the circulation of water in the aquarium and the speed of its cleaning.
Manufacturing features. The bases are not tightly connected to the glass tube of the lamp, water can get into this place. If this happens, the lamp will burn out and cause a short circuit, so the seal must be of high quality. The electronic ballast / ballast must be equal in power or more powerful than the lamp (more powerful is better). For example, a 36 watt electronic ballast and a 15 watt lamp. A 36-watt electronic ballast will be able to work with two 18-watt lamps connected in series. In practice, a 57-watt will not have enough power to power three lamps in series. Why do you need a sterilizer for water in an aquarium. Usually fish and algae live in an aquarium. As a result of their vital activity, various substances enter the water - bacteria, viruses, algae spores, and so on. As a result, the water becomes cloudier, thicker, greener, and clusters of spores and other microorganisms settle in it. You can constantly change the water, and you can avoid this thanks to a water sterilizer for an aquarium. Such devices drive a portion of water into a separate container, purify it with their own method (depending on the model and type) and release it back. Some models also have filters for water purification.