A warm self-leveling floor is one of the types of obtaining a flat surface above the heating circuit. For this, special mixtures are used, for example, polyurethane and epoxy. The pros and cons of such compositions, as well as how to properly fill, are described in detail in the presented article.
The content of the article
- Types of self-leveling floors
- Preparation of materials and tools
- Step-by-step instruction
Types of self-leveling floors
Self-leveling floor for a warm floor under a tile can be 2 main compositions:
- polyurethane;
- epoxy.
Polyurethane consists of an organic polymer of the same name. This is a unique finishing material that is suitable for concrete, metal and wood surfaces. This type of underfloor heating has several undeniable advantages:
- strength and wear resistance (retains original properties for 10-15 years);
- resistance to aggressive chemicals;
- antistatic (does not accumulate an electric charge);
- withstands both static (constant) and dynamic (periodic) loads;
- the thermal conductivity of the self-leveling floor is about 0.96 / (m * ° C), which approximately corresponds to wet sand;
- easy to install;
- resistant to water;
- withstands temperatures down to -25 degrees.
But if you plan to fill in a warm floor of this type, you need to keep in mind its disadvantages:
- it is necessary to carefully prepare the base, which will take up to 1.5 months;
- high consumption of the mixture;
- maintainability is low - after the elimination of chips, scratches, traces will remain;
- may contain harmful substances.
The thickness of the self-leveling floor for a warm floor is usually from 2 to 6 mm - it is this range that you need to focus on when planning the consumption of the mixture. More economical in this regard is the epoxy composition. It consists of a resin with the addition of a solvent, hardener, plasticizer and other components. The main advantages of such a mixture are as follows:
- attractive appearance;
- great durability (up to 30-40 years);
- resistance to aggressive chemicals;
- water resistance;
- completely safe in composition;
- does not accumulate dust;
- high coefficient of adhesion to the base (the composition is not prone to peeling);
- You can use it as early as 4 days.
There is no doubt whether it is possible to fill a warm floor with a self-leveling floor. For this, both described types are just right. However, its disadvantages should also be taken into account:
- the material is inelastic, so it is placed only on a fixed, rigid base;
- if the premises are for industrial purposes, vibrations are often observed in it, such a coating will not work;
- does not consist of a ready-made mixture - you will have to do it yourself immediately before installation;
- dries in 30-40 minutes, so all work must be done promptly.
Preparation of materials and tools
Self-leveling floor for underfloor heating is bought in the form of a ready-made composition, which is stirred according to the instructions with water. For work you will need such tools and materials:
- bucket;
- glue for tiles or mounting foam;
- primer penetrating deeply into the material;
- needle roller;
- spatula with a wide working surface;
- drill and nozzle-mixer;
- brush or regular roller;
- construction level;
- roulette construction;
- damper tape;
- construction stapler;
- vacuum cleaner for cleaning;
- wet shoes (put on the feet).
When planning to make a self-leveling floor for underfloor heating, you must also take into account the consumption rate. It is determined in practice - the average value is from 1.6 to 1.8 kg per square meter, provided that the layer thickness is 1 mm.
But usually a liquid warm floor is made at least 3 mm high. Then you can make a simple calculation using the example of a large room (hall) with an area of 18 m2: 1.8 * 18 * 3 \u003d 97.2 kg. It is clear that it is better to take the composition with a margin, so for such a room you will need at least 100 kg, and for a small room 12 m2: 1.8 * 12 * 3 = 64.8 kg, i.e. actually 70 kg.
Step-by-step instruction
Self-leveling floor for a warm water floor is made in several stages:
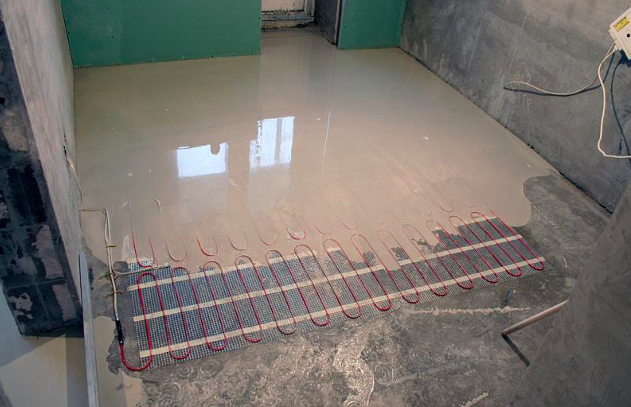
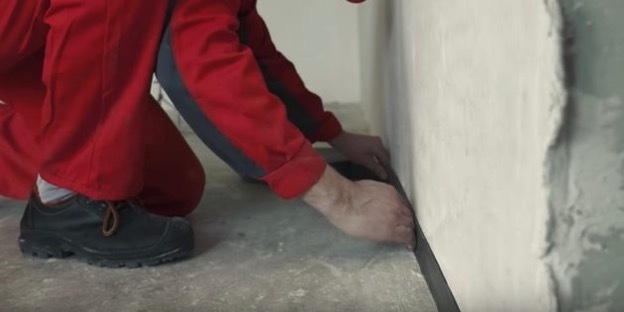
- First prepare the base. Since the pipes have already been laid, the main surface is not touched. It remains only to vacuum it and remove the garbage. If there are gaps between the floor and walls, they are passed through with mounting foam or tile adhesive.
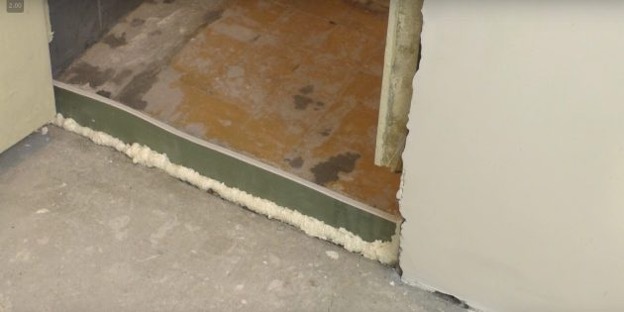
- Since the self-leveling floor for a house with a warm floor must be even, a damper tape is glued along the entire perimeter. Often they make a low screed (up to 10 mm) - then this stage can be skipped.
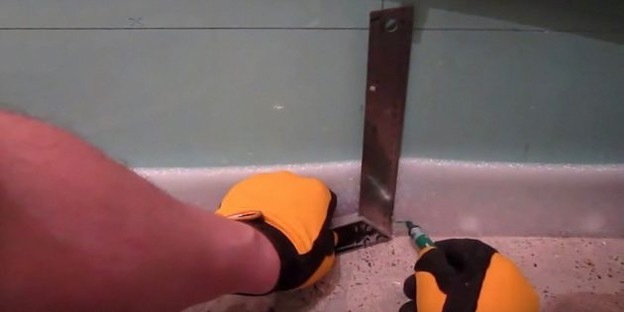
- Now you need to make markup. Despite the fact that the self-leveling floor does have good fluidity, it will not level itself, so first you need to mark any horizontal line on the wall (with a laser level).
- The zero level is determined, for example, 143 mm, and the layer thickness is subtracted from it, for example, 3 mm. It will turn out 140 mm - a horizontal is drawn along this height and the boundary of the screed surface is determined along it - i.e. the maximum level that the filling of underfloor heating pipes will reach.
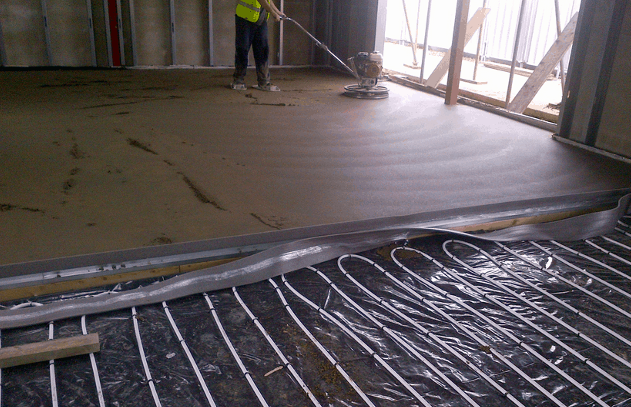
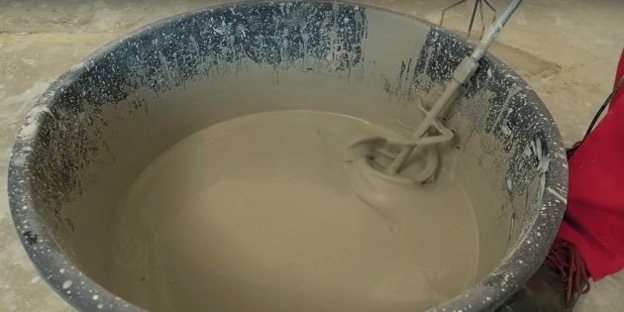
- Now you need to prepare the mixture according to the instructions. First, cold water is poured into the bucket, after which the powder is poured and stirred with a drill with a mixer attachment. Let stand for a few minutes and mix again, after which they immediately begin to work. The heating floor must be covered within half an hour from the moment of kneading.
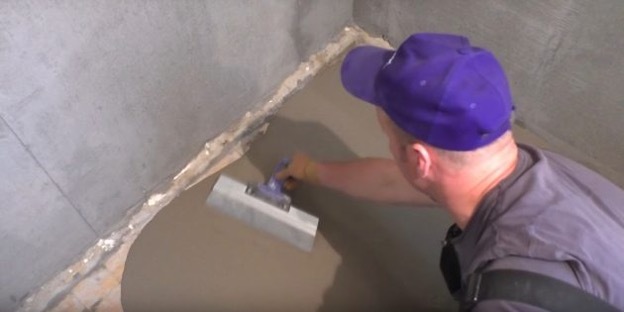
- Then the floor is poured under a warm water floor. It is worth starting work from the farthest end of the room, from where to pour the liquid in approximately the same stripes. A spiked roller is used for leveling.
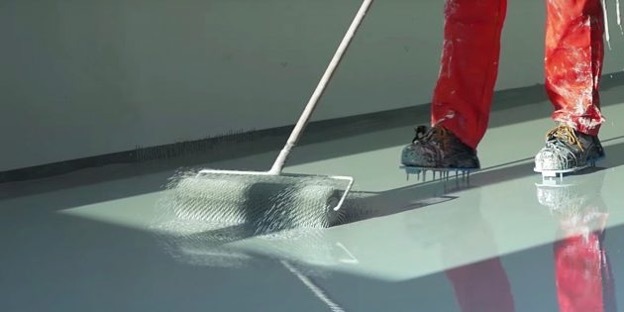
- In some areas, level with a wide spatula.
Next, you need to wait until the solution dries in natural conditions (without a draft). After about 5 hours, it will already be possible to step on it, at this moment it is allowed, for example, to cut the damper tape. But it is allowed to start finishing in at least a week.